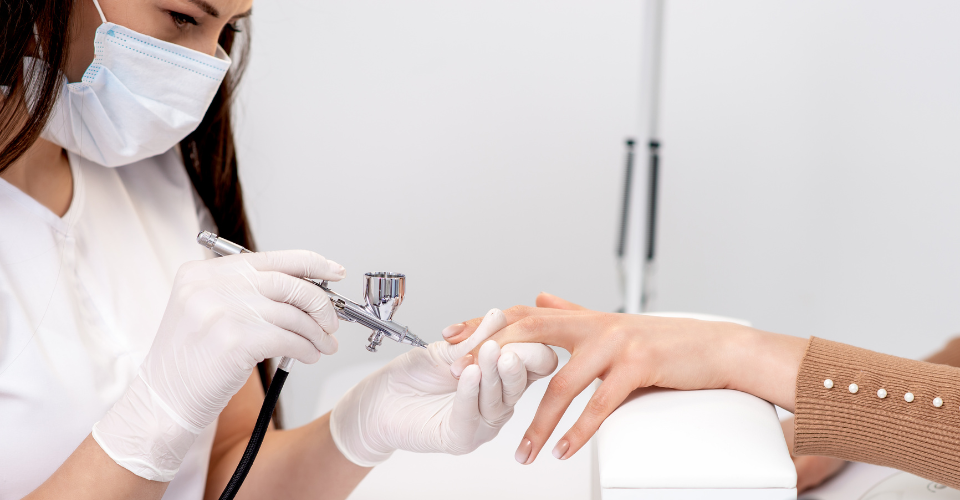
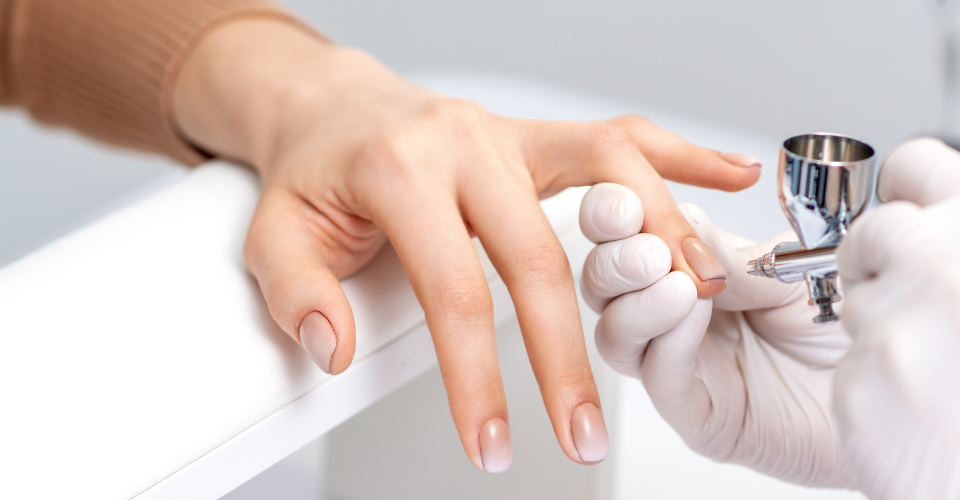
How to Airbrush Nails? A Guide to Achieve Flawless Nail Art
The world is going retro. Everything that once existed is coming back to life, and so is the airbrush nails trend. But why should you try it?

You wanna look “biggy” but don’t wanna put much effort, then airbrush nail art is just what you need. To start with, it is easy, photorealistic, gives a soft gradient effect, and the perfection that one desire.
The airbrushing nail art gives a lot of creative hands, perfect ombré designs, a chic look, and is not-at-all messy. All you need is a stencil, an airbrush, and an airbrush nail paint to get started.
But you are still uncertain about trying it and think that it might not turn out the way you picturized it? Don’t worry, I got you. Scroll down to learn everything you need to get those perfect “Airbrush nails.”
Tools and Materials Require for Airbrushing Nails
You definitely can’t achieve flawless airbrush designs for nails without the tools. Don’t worry, it will not burn a hole in your pocket. The kit is a one-time investment for your long-lasting nail designs. The airbrush nail kit includes:
(This post contains affiliate links. Read our disclosure for more information.)
- Airbrush gun
- Airbrush compressor
- Nail polish remover
- Nail file/buffers
- Base coat
- Tape
- Stencil
- Nail paints
- Top coat
Mastering Airbrushing Techniques
You have made up your mind to purchase the airbrush kit. But how to use it? How to create a gradient effect? I have the answer to all your concerns. There are two types of airbrush guns; single-action and dual-action.
Single action: It is advised to start with a single action kit because of its ease of application. However, they are not a great fit if you aspire to create intricate motifs on your nails.
Dual action: The dual-action airbrush kits are preferred for precision, fine lines, and details. You can purchase a dual action kit as you gain expertise in this nail art.
The gun might have a cup-shaped hole at the top, the nail paint goes in here. Only 4 to 6 drops of nail paint would suffice, do not overfill it.
After filling the nail lacquer, you should first practice on paper. Keep the gun perpendicular to the paper and press the trigger. You can try it from different angles to see the effect it creates.
The gun will release tiny drops which will create dots on the paper. The size of the dots varies according to the extent of the trigger pulled by you.
The greater the distance between the gun and the painting surface the lighter the coverage; however, do not keep the nozzle too close as the droplets will not have much space to run on.
What About Gradation And Blending? – You all are here for the gradient effect right?
First, choose the colors you want. Fill in the desired color in the airbrush and pull the trigger. Move the airbrush smoothly for an even base.
Now fill in the second color and apply it closer to the first one. The second color should overlap the first one to create a smooth gradient effect. The closer you keep the airbrush the darker the color will be.
This might not go as per your imagination on the first try. Keep experimenting with the technique and when you gain confidence get started with nail art airbrushing.
How to Airbrush Nails? A Step-by-Step Guide to Flawless Designs
Just like you don’t drive a car you just bought, you first go through a series of steps of learning. Similarly, you can’t be an airbrush nail art expert on the first try. Here is the step-by-step guide from prepping your nails to making them ombré.

Step – 1: Prepping Up Your Nails.
First, wash and dry your hands, and remove any residual nail paint with an acetone-free nail polish remover. Prep your nails by filing them with a nail file and use a nail buffer to achieve flawless smoothness.
Step – 2: Base Dem Up.
A water-based base coat is used in air-brushing. Your regular base coat might not adhere well to the airbrush nail paint. You can use the provided brush for applying the base coat.
Step – 3: Protection First.
No matter how carefully you use the airbrush gun, even the experienced manicurist can get the paint on their hands. Cover your fingers with tape before application to avoid getting the paint on your skin.
Step – 4: Easier With Stencils.
The stencils open a great scope for creativity and help you create designs in a few minutes that might take you hours with a normal brush.
Step – 5: Make Me Ombré.
Choose the colors you want for the ombré effect. You can choose more than two also. Make sure the colors complement each other and give a smooth transitioning effect.
Apply the lightest shade of your chosen color as the base. Let the color air dry. Now fill in the desired color and start airbrushing from your fingertips in a downward direction.
To create the effect, the color intensity should be more towards the tip and gradually decrease towards the cuticle. Hold the airbrush smoothly for better blending.
Clean the airbrush thoroughly before switching to the second color. Now, load the airbrush with the second color and start airbrushing in a similar direction; however, ensure that the subsequent color overlaps the edge of the first color smoothly.
You can repeat the process if you want more than two colors. You can also you rhinestones to beautify your delicacies.
Step – 5: Seal Me Up.
Just like the base coat you will have a different top coat for airbrushing. Seal off your pretty airbrushed nails with the top coat. You can apply two layers for better protection.
Common Mistakes To Avoid While Airbrushing Nails
No one wants clumsy or imperfect nail art, right? There is a lot of apprehension when we try something new and broad scope of mistakes too.
I have listed the common mistakes that one makes while trying to airbrush on nails. Go through them before beautifying your nails to avoid probable imperfect nail art.
- Incorrect pressure: An inadequate amount of pressure will result in uneven application. You should use lower pressure for an even application and a higher pressure for a fine application. You will find the right balance by practicing and experimenting.
- Inappropriate cleaning: Ensure to clean the airbrush thoroughly after every application and in between every color change. Not only cleaning thoroughly will result in inconsistent spray patterns but uneven mixing of colors.
- Skipping the base coat: You tried too hard to create the design but forgot the base coat? This is a big No No. Skipping the base coat will not provide a smooth surface to the nail lacquer and it will chip off easily.
- Overcomplicated designs: Start with simple, basic colors if you are just starting off. Don’t go all high and mighty on the first try. Overcomplicated designs with no perfection will make them look messy and clumsy.
- Protection: Ensure to use protective gear before starting with nail art airbrushing. Airbrushing releases fumes and particles that are harmful. Use a mask and safety goggles before application.
Final Words:
I know you can’t wait to start with nail art airbrushing, but be patient and do not rush over it. Try the airbrushing diligently first on paper and then you can beautify your nails with this nail art.
Ensure to choose a high-quality airbrush kit as it’s a one-time investment. Read the manual and do a skin sensitivity test before trying it out.
Both you and I can’t wait to ombré dem up. But, remember practice makes one perfect. You and I both have seen how perfectly chic, trendy, and sophisticated airbrushing nail art is. So, pick up your airbrushing kit and get started!

Read related:
- How to Get Hailey Bieber’s Chocolate Glazed Donut Nails?
- How to Do Marble Nails With Water at Home? 7 Easy Steps
- How to Do Chrome Nails? Here’s Your Cheat Sheet!

As a dentist and fashion enthusiast, Sakshee has a keen interest in both maintaining healthy nails and beautifying them. She believes that nails are reflective of one’s personality, well-maintained nails boost confidence and manicures work as therapy and wellness sessions.
