What Is Nail Stamping? – Easy Tips and Tricks to Get Started
Love nail art? You will be obsessed with nail stamping! This easy-to-follow technique is a fun way of unleashing your creative side. Stamping nail art is essentially applying a layer of design over freshly painted, dried nails.

There are no rules for right or wrong ways of stamping nails. You can be as subtle or bold as you want to. Before diving into the world of nail art with stamping, here are some types of equipment you would need.
A nail stamping plate, a scraper, and a nail stamper are the basic tools required for stamping on nails. Since these are reusable, think of them as a one-time investment. Ready to rock and roll with nail stamping? Let’s explore and discover more about it.
What Is Nail Stamping?
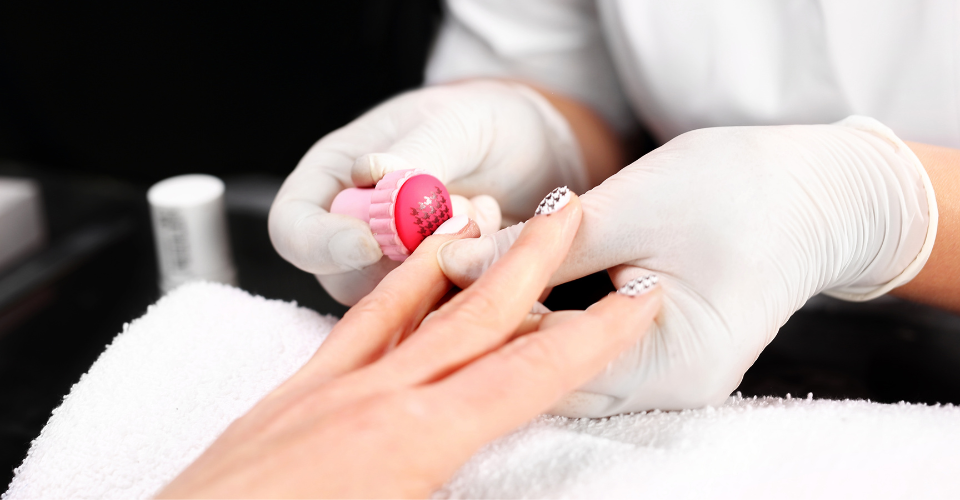
Nail stamping is a nail art technique where a nail stamper is used to paste intricate designs and patterns over regular nail polish. In my opinion, the best part about this method of expressing your creativity is that there are endless variations to try!
Moreover, nail art with stamping is super easy to do. From beginners to professionals, nail stamping is a fun, therapeutic activity. As mentioned in the above section, you need three basic tools for stamping nail art. Also, besides using your usual nail polish, you can use press-on nails for nail art stamping.
Getting Started With Nail Stamping – Tips and Tricks!
One of the reasons I love nail stamping as a nail art technique so much is because it is easy to learn and execute. However, that does not mean this technique does not call for any practice. Absolutely not! Practice makes perfect and one can create seamless nail art designs with this technique!

Note: A crucial thing that makes or breaks nail art is how crisp and clear the lines and patterns are. While nail experts and nail technicians are skilled enough to create eye-catching designs, learning the right tips and tricks, following the process, using premium quality equipment, and practicing are certain principles I recommend abiding by.
1/5 – Essential Supplies for Flawless Nail Stamping!
Let’s start with the most basic tools needed for nail stamping. Three tools are crucial to complete a stamping nail art session. These are –
- Stamping plates,
- A scraper,
- A stamper,
- Nail Polishes,
- Base coat and,
- Top coat.
2/5 – Stamper
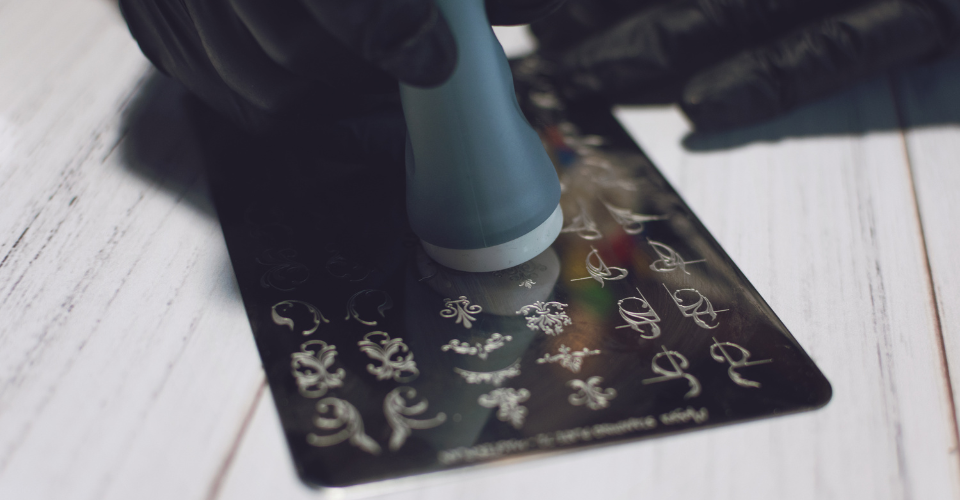
This stamper can be silicone or rubber-tipped. Personally, I prefer a silicone-tipped stamper as it is transparent, and you gauge the pattern and quantity way better as compared to the counterpart.
It is of utmost importance to ensure the stamper is cleaned after each use. This guarantees the durability of the tool as well as consistently clean-looking stamps on all nails.
3/5 – Stamping Plates
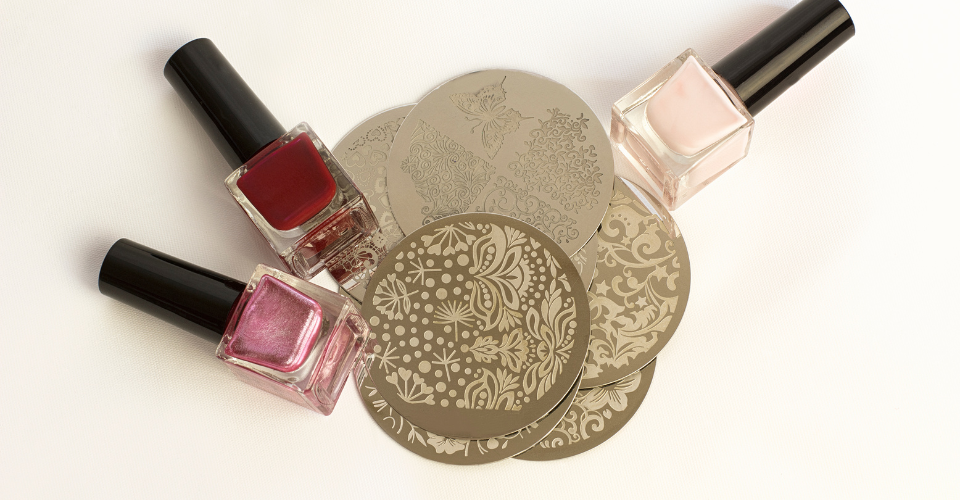
In regard to stamping plates, they are thin and steel-based. These plates have designs like French tips, flowers, polka dots, and many more varieties. You will find plates with minute designs and others with large patterns.
Make sure you invest in a premium quality plate as cracked plates also ruin the chances of a perfectly professional-looking manicure.
Pro Tip: In my opinion, as a beginner, it would be better to work with larger designs. This is because smaller designs take much longer to dry as compared to larger patterns. As a beginner, it is recommended to work with quick-drying patterns and nail polishes.
This goes without saying, but some tools that work for me may not work for you. Essentially, finding the ones that work best for you is a game of trial and error. You could find the best set of nail stampers at the first purchase, or it could take a few tries.
4/5 – Exploring Nail Polish Types for Nail Stamping!
I will discuss all possible issues that can occur with the nail polishes you use for nail stamping. Some of my favorite fast-drying nail polishes for nail stamping are ones from Beetles Gel Polish, Modelones, OPI, and Dashing Diva USA, among others.

Most nail polishes work seamlessly with stamping plates. While most do, not all do. Certain nail polishes, especially glitter and holographic nail paints tend to stick to the depths of stamping plates.
This happens as glitter nail paint is quite thick and chunky and particles tend to get stuck between the designs. This brings me to the next point, the consistency of your nail polish.
The nail polish needs to have a medium consistency. If it is too thin, the nail polish will not set in the crannies of the stamp plate. Instead, it will flow, and not hold the design that it is meant to create.
On the other hand, if the nail polish is too thick, it will result in a similar situation to glitter nail polish. Thick nail polish is typically dried up and gets stuck on the plate. Even if this nail polish is transferred onto the nail, it will be uneven.
5/5 – Becoming proficient in nail stamping!
Here are some of my favorite fixes, hacks, and secrets I keep in mind while nail stamping. Nail stamping as a nail art technique calls for precision and quickness. This is because once the nail polish is applied on the plate and stamper, it dries up too quickly, within seconds.

Make sure everything is within reach. For any design, you will need a stamping plate, polish, scraper, cotton balls, nail art tape, and a quick-drying top coat.
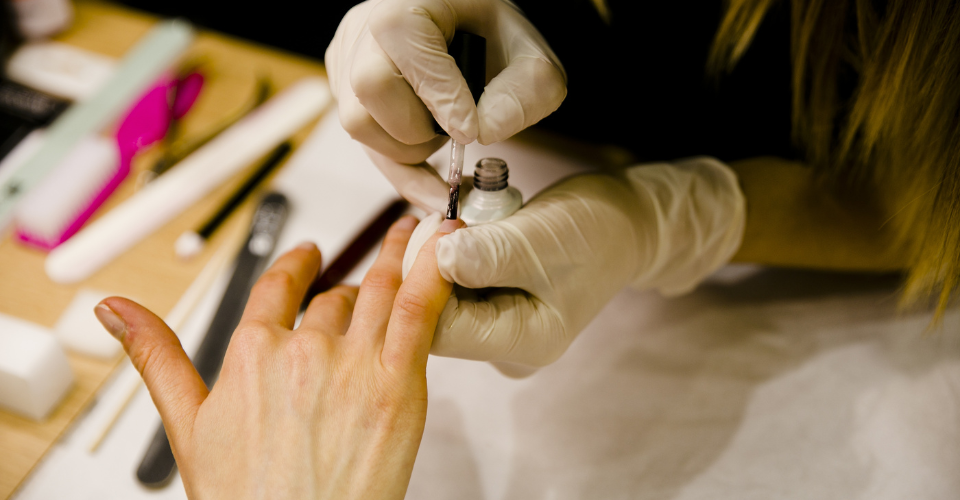
- Start the manicure with regular nail polish, base coat, and top coat, as usual. Let this dry.
- Once dried, apply tape on the side of the nail bed. Ensure you do not cover the nail surface area. It will impact the nail stamp.
- When it comes to stamping, my most crucial tip is to not stamp from a 90-degree angle. Instead, keep the stamper tip slightly tilted. Create a mild rolling motion when you pick up polish from the stamper plate.
- Follow this similar practice when you are stamping on the nails. Do not stamp like we do on paper. Stamp and roll, do not keep the stamper parallel.
- Before picking up the polish on the stamper, make sure you take off excess using a scraper. Only as much nail polish as required will be taken up on the stamper tip and printed on the nail.
Note: Make sure your hand is sturdy. Do not slide or lift the stamper, it will diminish the quality of the final print. In case you are allergic to adhesive, you can use acetone-free nail polish remover to clean off the excess.
What Is Nail Stamping? – FAQs
Do you need special nail polish for stamping?
No, not really. You can use your regular nail polish for stamping. My tip is to ensure the nail polish hasn’t dried up. It causes a gloopy nail stamp that does not dry well and creates a poor-quality manicure.
What’s the drying time for stamping polish?
It takes 2-3 minutes for the stamping polish to dry. You can opt for fast-drying nail polishes from brands like OPI, Sally Hansen, Essie, or REVLON.
Is cleaning my stamping plate after each stamp necessary?
Yes! Cleaning your stamping plate is key to a clean, professional-looking manicure. Additionally, cleaning the stamping plate after each use ensures the quality does not diminish after a few uses. Cleaning the plate enhances durability.
Wrapping up:
And that’s a wrap on everything you need to know about nail stamping. From equipment to tips and tricks, and my personal favorite hacks, there is something about this nail art technique that keeps pulling me back to it.
Super quick, super easy, nail art with stamping is going to remain a classic trend. Whether it’s a quick fix to a chipped nail or a full-blown elaborate manicure, nail stamping as a nail art technique is versatile.
Have you tried this before? Did this blog post stir a desire to try nail stamping? If yes, share your ideas and recreations below!

Read related:
- Why Does Gel Nail Polish Change Color? – Top 7 Reasons + Tips
- 31 Coolest Blue Nail Art Designs to Dazzle in 2024
- How to Get Nail Polish off Skin? – Explore 13 Proven Methods

Less is more while simplicity is key – this is what Aanchal believes in. She likes her manicures like she likes her people – subtle but impactful. With a passion for all things pretty, Aanchal loves creating versatile festive nails by taking inspiration from spaces around her.
