How to Shape Almond Nails in the Comfort of Your Home?
The shape of your nails contributes a lot to the entire look of your manicure. And the almond nail is a shape loved by many mani enthusiasts. If you are searching for how to shape almond nails, worry not! I’ve delved deep into the nail art world to present the best tips to get this super feminine, chic look!

In this article, I will give you a quick glance at how to shape almond nails without stepping a foot out of your home! Determining and achieving the correct nail shape can be pretty daunting if you are not willing to spend the extra bucks on a manicure salon.
Though almond-shaped nails are easy to achieve and maintain if appropriately done step-by-step, the health and length of your nails play a vital role in the shape of your nails.
What Does an Almond-Shaped Nail Look Like?
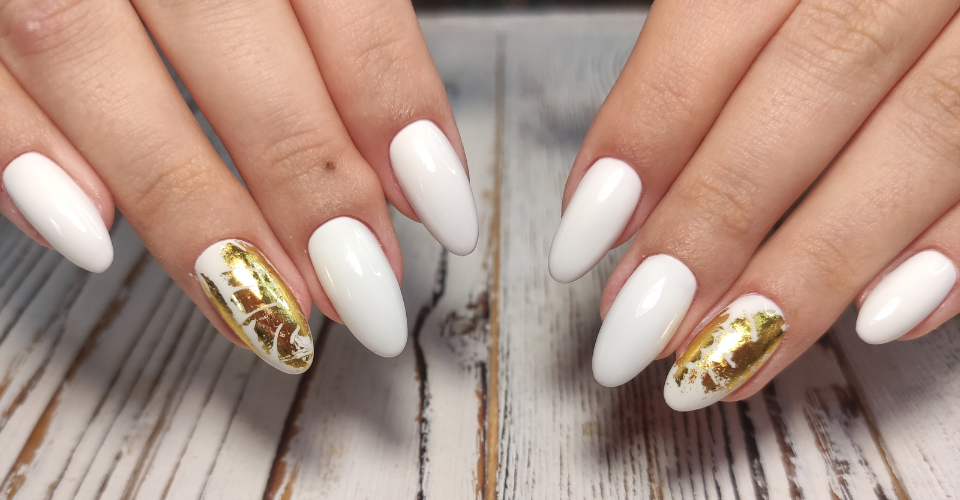
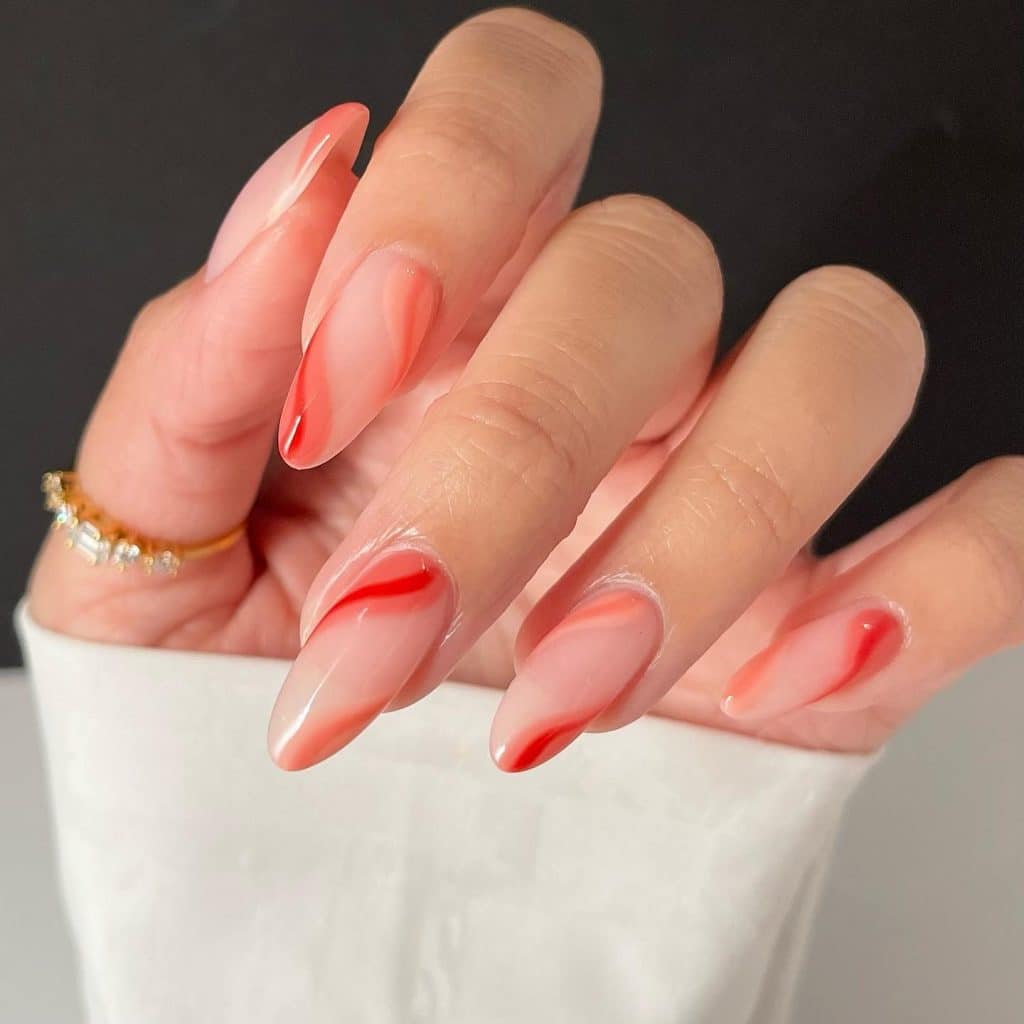
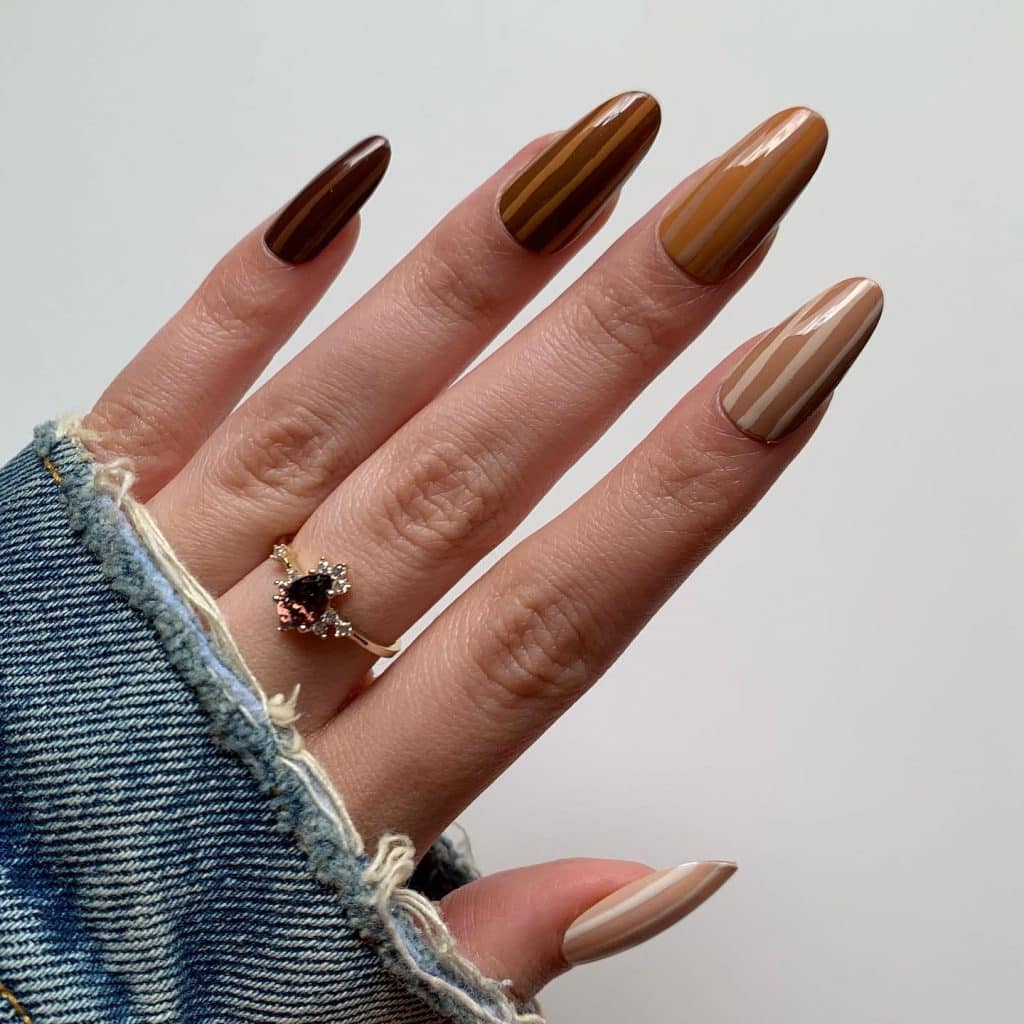
As the name suggests, almond-shaped nails have a broader base and gradually tapering sides, leading to a rounded tip, just like an almond.

Almond-shaped nails blend stiletto and oval tips. Hence, if you are bored with the almond shape, you can quickly transform your nail shape to a stiletto or oval without losing much of the length of your almond nails.
The almond nail shape adds a slimming effect to your hand and provides an enchanting and alluring look. The good news is that almost anyone can wear this look, provided you have long nails.
Note that, almond-shaped nails are not mainly a short-nail style, as the design requires some length to achieve a rounded look. If your nails are short, you can get an almond-shaped acrylic manicure to enjoy the shining presence of almond nails.
How to Shape Almond Nails Step by Step in the Comfort of Your Home?
You might think it is impossible to achieve this look at home by yourself. What if I tell you, you can achieve salon-like results at half the costs?
Follow through with my steps to shape almond nails at home all by yourself.
Step – 1: Start on a clean canvas.
A clean nail always results in a seamless manicure. Use a nail polish remover to clean left-over nail polish from your previous wear. Prep your nails by cleaning them with a soft, lint-free cotton pad.
A quick tip, if you have brittle nails, add cuticle oil and a nail hardener to your nail care routine. Eventually, you will get solid and durable nails.
Step – 2: Shaping almond nails from scratch.
Many prefer clipping the nails with a nail clipper to achieve the shape and then go on to file it. If you wish to do that, carefully clip the edges of your nails up to a rounded tip. Do not worry if the edges are sharp, as you will start filing.
Take a nail file and use gentle motions in one direction to file the edges to an almond shape. Be careful not to over-file one side, which may lead to an imbalanced look. Don’t worry; this gets better with practice just like everything else.
Perform this task slowly so that you have complete control over your nails. It may take longer, but you will undoubtedly achieve perfection!
Step – 3: Buffing.
Phew! The hard work is over. Finally, you have a beautiful set of almond nails that you can paint as you wish. But there’s a step in between.
If you want your nail paint to last long and be applied smoothly, buffing your nails is a must. A buff will ensure a smoother and even surface to work on.
Step – 4: Do not forget the cuticles!
An attractive cuticle base can make or break your look. First, make sure to clip the excess dead skin off your cuticles. Then, with a cuticle pusher, push your cuticles back for a more attractive nail.
Then, follow up with nourishing cuticle oil to keep your nails healthy and moisturized. Cuticle care is indispensable if you are really wondering how to shape almond nails perfectly.
Step – 5: Get creative!
Let your imagination run wild! Now that you have a perfect set of almond-shaped nails, you can paint them with regular nail polish, gel polish, or powder dips.

Start with a base coat and let it dry completely. Then apply your chosen nail polish and let it dry. Next, go for another coat of polish. Then you can seal the look with a matte or glossy top coat to get the most prolonged wear.
Voila! Your hands are ready to rock!
Let’s be honest; it is easier said than done. But, if the above steps are followed to the best practice, your doubts about how to shape almond nails to perfection will be addressed.
Post You May Like: 24 Lipstick Nail Shape Designs for 2025
How to Keep Your Almond Nails Healthy?
A healthy set of nails is the best canvas to work on. Brittle, yellow nails do not look attractive, even with the most expensive manicures. No matter the nail design, caring for your nails is a step that cannot be skipped.
Here are a few quick tips for caring for your nails.
- Use appropriate tools: For beginners, a toolset containing a good cuticle remover, a clean nail file, a cuticle pusher, and moisturizer oil can go a long way toward transforming your at-home nail salon.
- Frequently moisturize your hands: Frequent washing can lead to dry, flaky nails and cracked cuticles. In addition, nail polish may not wear smoothly if your nail bed is not healthy and smooth. Carry a hand cream in your traveling bag and frequently use it to lock in the moisture after washing your hands!
- Make cuticle care a routine: Once a week, pamper your nails with a good manicure which may be done professionally or at home. Either way, make sure your nails are getting the care they deserve!
- Diet: Your nails may become fragile with a lack of calcium and vitamins. Make sure you have plenty of fruits and vegetables and if possible, add collagen or a keratin supplement for healthy nail tips.
Almond-shaped nails have always been a cult favorite among nail enthusiasts for their panache and ease of maintenance.
Hopefully, you may have understood how to achieve the almond-nail look and maintain your nail health. With regular practice, you can achieve nails that look professionally done! Remember, taking care of your nails makes a surprising difference!
Do you still have questions on how to shape almond nails? Read these FAQs to get your doubts answered.
Post You May Like: How to Do Chrome Nails? Here’s Your Cheat Sheet!
How to Shape Almond Nails? – FAQs
How to shape almond nails short?
To achieve the short almond nail look, ensure your nails have grown a medium length. Then, snip off the sides carefully, leading to a pointy tip. Using a nail file, file the edges resulting in a rounded tip. It may take some practice and precision, but eventually, you will achieve it.
How to shape almond nails from square nails?
It is wiser to start from a square nail. A square nail allows you to file the sides leading to an oval, gradually tapering to an almond shape. Make sure to file slowly, not to file off a lot of nail material.
How to get an almond shape on acrylic nails?
Make sure to prep your nails properly before starting with your acrylic manicure. Acrylic tips should be pressed on properly and buffed to provide a smooth, even surface to work on. Once that is done, make sure your acrylic tips are long, to begin with. Then follow the usual square-oval-almond step. A more extended tip will give you a better shape while retaining a good length.
How to file almond nails?
Filing should be done with a 100/180 grit file for better control and a smooth finish. Make sure the nail surface is dry and clean. File in one direction on both sides, leading to tapering edges and a rounded tip.

Read related:
- Are Acrylic Nails Okay to Wear at School?
- What Does the Nail Polish Emoji Mean?
- What Are Solar Nails? How to Put On Solar Nails?
Hi, I’m Raizy, a fashion blogger passionate about beautiful nails. Through my experiences in the fashion industry, I’ve learned how to maintain and work with long nails efficiently. I share my tips and tricks on this blog to help others enjoy their long nails without sacrificing productivity.
