Can You Cut Acrylic Nails at Home? If Yes, then How?
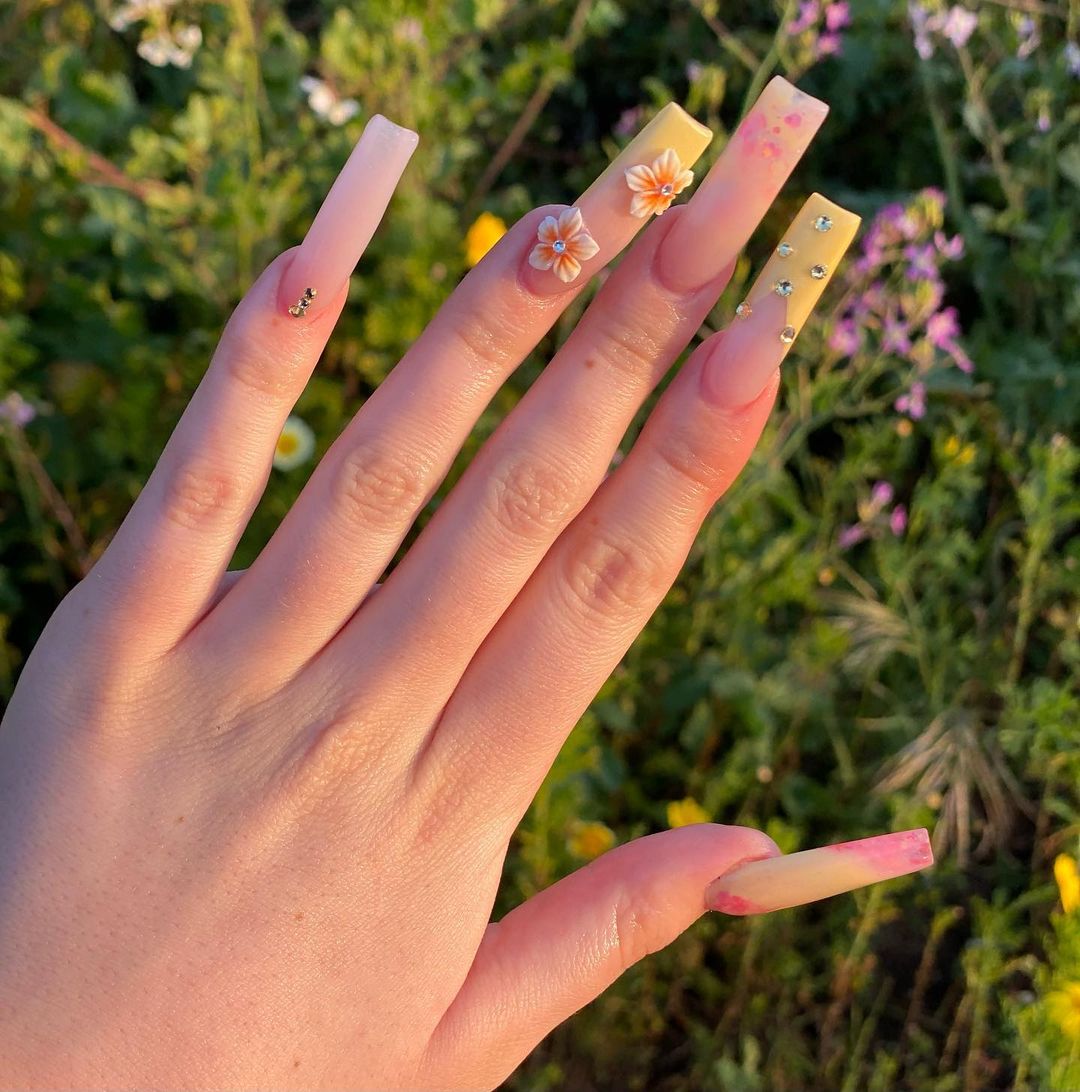
You accidentally got your acrylic nails too long – what now? Yes, I know. It happens. Even during the last holiday, I got my acrylic nails quite longer being inspired by the XO Team. Though I’m a long-nail fanatic, that length was really unmanageable when I back to normal days.

Then I felt there must be acrylic enthusiasts like me who face such situations for sure. As you are here, I’m sure you are also one of us. So, here the question comes; can you cut acrylic nails if you accidentally got them too long? Or do you have to take your acrylic nails off?
Well, the answer is yes. You definitely can cut your acrylic nails at home. You don’t have to take them off. Also, you can do so by visiting a nail salon, the nail technician will do this for you but if you wish to go with DIY, then you should know how to cut acrylic nails properly and what sort of tools you need to cut your acrylic nails.
And in this post, I’m going to share with you the safest yet easiest way to cut and shorten your acrylic nails right in the comfort of your home. So, follow along with me to learn how you can cut your acrylic nails. In addition to this, I’ll also share some additional tips that you must keep in mind while trimming your acrylic nails.
How to Cut Acrylic Nails Without Cracking at Home? Step-by-Step Guide
Now that you know you can cut your acrylic nails at home, let’s see how you can do so. But before I begin to share the step-by-step guide, let’s have a look at the tools you will require to cut your acrylic nails at home.
Acrylic nail clipper: Although you can use a large nail clipper to cut your acrylic nails, an acrylic nail clipper will make the task much easier. Acrylic nail clippers are designed in such a way as to comfortably cut acrylic nails.
Nail buffer: You may additionally need to use a nail buffer to smoothen out any bumps or roughness on the surface of your nails that may occur after the cut.
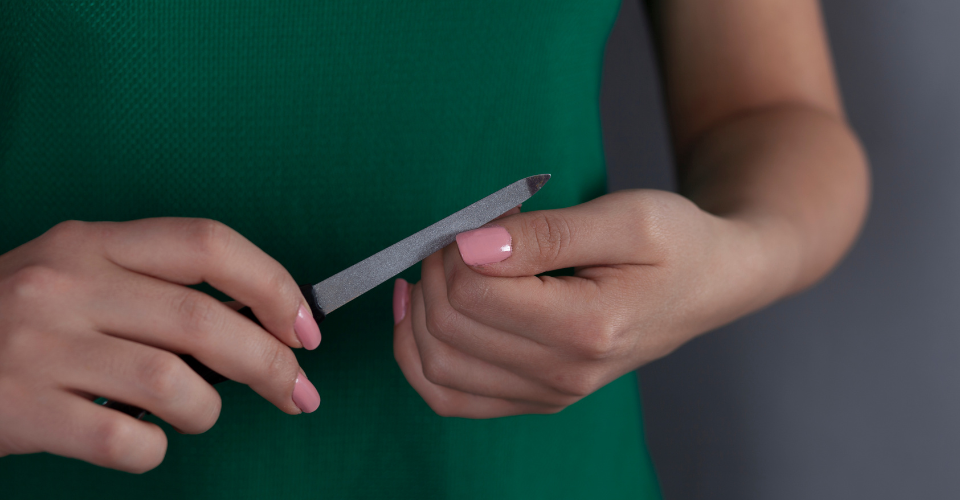
Nail file: After trimming your acrylic nails, you will notice those rough edges. And this might hurt you if you leave them unfiled. So here a nail file is required to soften the edges of your acrylics.
Now let’s have a look at how you can cut acrylics at home.
Step – 1: Mark the length.
First, before you proceed to cut your acrylic nails, make sure your nails and hands are completely dry. If the nails are wet, the pressure during the cut from the clipper might lead them to lift in some cases.
The next task is to mark the length at which you want to trim your acrylic nails. If you do not mark, you may not get a proper idea to maintain the length of all nails equal. You can use a pen to do so.
Step – 2: Clip the nail from one side and then from the other side.
Now grab your acrylic nail clipper and position it from one side of the nail to the center of the nail. Make sure you are placing the clipper just slightly away in the outward direction from the mark on your acrylics.
It is because after the cut you have to file the edges; therefore, you will reach the mark through filing, and to me, it’s a safe process. If you cut exactly at the point you mark, then filing down next may shorter your nails than the mark you have labeled before.
Note that, if you don’t have an acrylic nail clipper, you can then use a large nail clipper or your toenail clipper but you should not use a scissor to perform this task. If you use a scissor to cut your acrylics, you must know that your acrylic nails may crack due to the uneven pressure from the scissor.
Now gently clip the part of the acrylic nail from one side to the center of the nail and do the same step from another side of the nail to the center of the nail. You should not cut the acrylic nail from the center directly as it might lead your acrylic nail to crack.
Step – 3: Take out the trimmed part of your acrylic nail.
Even though you have cut your acrylic nail from both sides to the center of the nail, the trimmed part may not detach on its own. It will be slightly attached to the center of the nail. Therefore, you have to pull it out with your fingers.
You may feel like bending it to separate it from the nail will be easier. But don’t try to bend it to take it out as it might lead your acrylic nail to split if it’s closely attached to the nail. Try clipping it slightly with the nail clipper if it’s hard to pull.
Step – 4: Time to file and shape.
Take an 18-220 grit nail file and gently file the edges of the nails to achieve smoothness. Acrylic nails are harder than natural nails. And that’s why filing them down will take a bit extra time. So be patient and enjoy the filing.
Also, in this step, you can give your nails the shape you want. If your nails are long enough even after the cut, you can give them the almond shape. I personally love this shape as it is quite comfortable.
Furthermore, you can go for a square shape as well as a round. According to my experience, a round shape will suit you best if your nails are short. Also, make sure to not file enough of the nail material. You may make your nails shorter than you planned.
Step – 5: Clean and dry your nails.
Once you have filed your nails and given them the shape you wanted, it’s time to wash them properly. There will be specks of acrylic dust all over your hands and nails. Gently wash your hands under tap water.
If required, you can use warm water to rinse all the dust and clean your nails. You should finish the cleaning process quickly yet effectively. It is because keeping your nails for a longer time in the warm water may lead your nails to lift.
After the cleaning is done, use a soft towel and dry your nails. Make sure your nails are completely dry before you proceed to apply any nail polish to them.
Step – 6: It’s the time to paint and enjoy.
Once your nails are completely dry, you can paint them with the color you like. First, apply a generous amount of nail polish all over your nails. If it’s normal nail polish, then wait for a few seconds to air dry the first coat and then apply the second coat.
In case it’s a gel polish, you need to cure it under a UV/LED. After the second coat is dry, apply a top coat to seal the beauty of your newly painted nails.
If you don’t want to apply colored nail polish on your acrylic nails, you can simply go for the final top coat application. A top coat application is a must to protect the shininess of your acrylic nails. You should also keep on applying a top coat every week to maintain the shine of your nails.
Post You May Like: How Much Does It Cost to Get Your Nails Done in 2024?
Additional Safety Tips to Follow While Trimming Acrylic Nails at Home
Trimming acrylic nails at home is a simple task as long as you use the correct process and the right tools. However, to save yourself from sharp tools, and possible injuries, keep these tips in mind!

- Be gentle: The very first step you should take is to be gentle throughout the process. Don’t engage yourself to cut your acrylic nails when you are in a rush.
- Check tools: Always go for a high-quality nail clipper that is designed to trim acrylic nails. If you are going to cut your acrylic nails with a usual clipper, make sure the clipper is sharp enough to trim your nails. You can have a large clipper to cut your acrylic nails or go for a toenail clipper instead.
- Keep your cuticles unimpacted: Make sure you keep your cuticles unimpacted while trimming your acrylic nails. Cutting or trimming cuticles should be avoided.
- Health care: The dust from acrylic nails is bad for your health. And it can fly to your eyes or you can inhale it if the place is windy. Make sure you wear eyewear to protect your eyes from the dusk as well as a mask to make sure you are not inhaling it.
- Visit your nail tech: If you face any complications to cut your acrylic nails, you should visit your nail tech instead of experimenting with your nails.
Can You Cut Acrylic Nails at Home? – FAQs
Can you cut acrylic nails after they are done?
Yes, you can cut acrylic nails anytime after they are done if you are not happy with the shape or length. Acrylic nail clippers are specifically designed to cut acrylic nails to save a lot of time and effort. If you don’t have one, go for a large nail clipper or a toenail clipper to cut your acrylic nails.
Can you file acrylic nails after getting them done?
Yes, you can! But make sure you remove the top coat and gel/nail polish using acetone or alcohol before filing them. Start with an 18-220 grit nail file and gently file away to shorten or shape your nails.
Can you cut acrylic nails with scissors?
To cut acrylic nails, using a pair of scissors is not a good idea. A scissor will give uneven pressure to the nail causing the nail to crack. Plus, acrylic can make scissors slip and damage the natural nails and side skin. There is a risk of injury to the cuticles as well.
Can you cut acrylic nails with nail clippers?
Yes, you can cut acrylic nails with nail clippers. Make sure the nail clipper is sharp and of high quality. For a comfortable cut, you can go for toenail clippers. They are usually stronger and sharper than fingernail clippers.
Wrapping up:
Shortening your acrylic nails at home doesn’t have to be a daunting task. With the right tools and a little bit of patience, you can do it quickly and easily. So go ahead, and give it a try! Your fingertips will thank you.

Read related:
- Can You Get Acrylics on Short Nails?
- 7 Best Nail Primers for Acrylic Nails in 2024
- Can a 9, 10, 11, and 12-Year-Old Get Acrylic Nails?
Hey there! I’m Raizy, a makeup, beauty, and manicure enthusiast. My passion for nail art and manicures knows no bounds; it’s something I can’t quite put into words. Every day, my goal is to dive into the world of manicures and nail art, and I’m thrilled to share my thoughts and expertise with all of you.
